Replacing Our Kitchen Blues
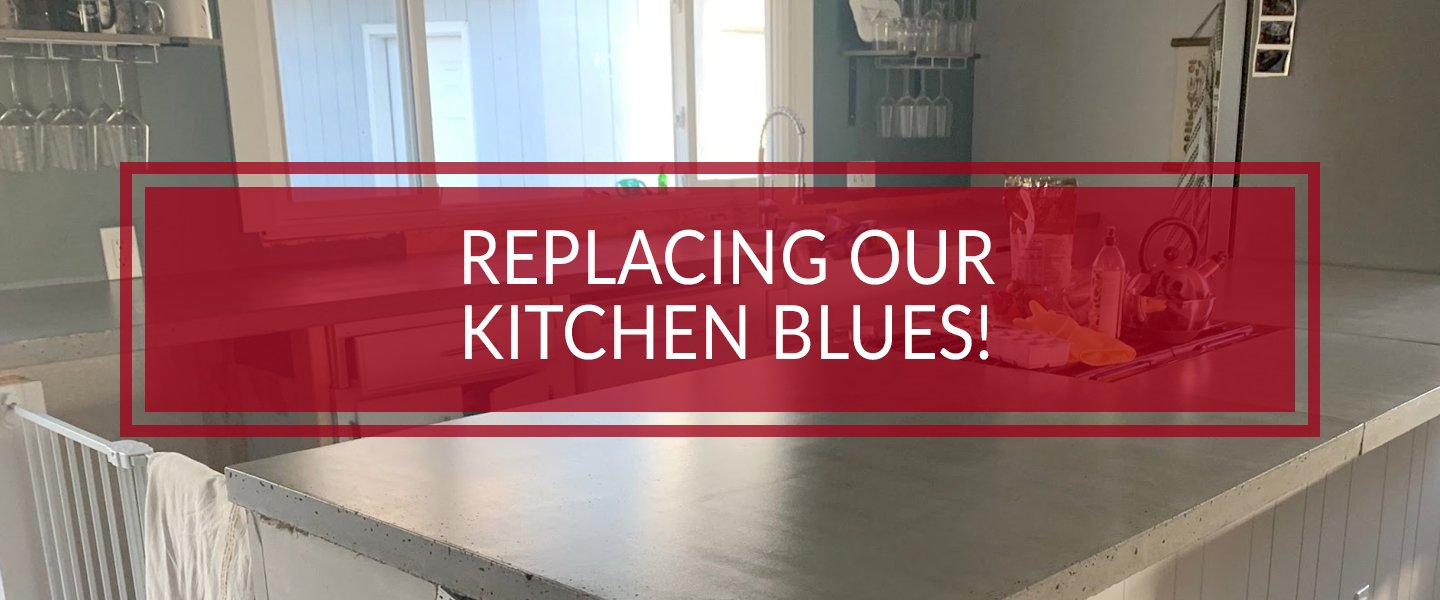
One year ago, Nils and I bought a rambler in White Bear Lake, MN that was in major need of some TLC. It was a big undertaking but the knowledge of building and the construction skills in our family made us confident taking on this fixer upper. We tackled the main level of the house, completely redoing the bathroom, tearing up carpet to refinish the hardwood under it, and refinishing the ceiling, walls, and trim just to name a few of the larger tasks!
When it came to the kitchen, we decided to just leave the majority of it for the time being. We replaced a few appliances, painted as much as we could, and replaced the hardware. Besides that, we left it alone-- after all it was functional, so we figured we could make do. Nils always likes to have a task though, and so with less than a month left until our second child's due date, he decided he wanted to redo our kitchen.
Now let me tell you what makes our particular kitchen extra special. The countertops are a bright, blinding blue. So while the rest of our house went from a dark, outdated house, to a bright, modern, welcoming home, our countertops remained this obnoxious statement shade of blue.
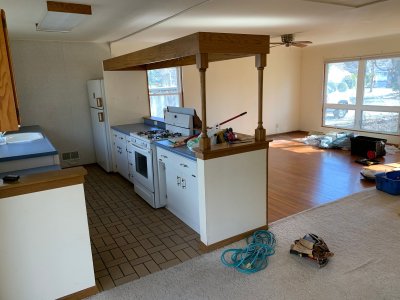
So with the impending due date of our second son, Nils decided this was the time to not only tear out our countertops, repaint our cabinets, and elevate one section of the counter, but he was going to make these countertops himself. And so, after years of Nils wanting to give it a try, our concrete countertop adventure began.
Concrete countertops have been gaining popularity as people start to consider options outside of your typical granite or marble. Concrete countertops are known for being used when looking to achieve a chic, ultra modern look in one's home, but they can be adapted to suit any home style.
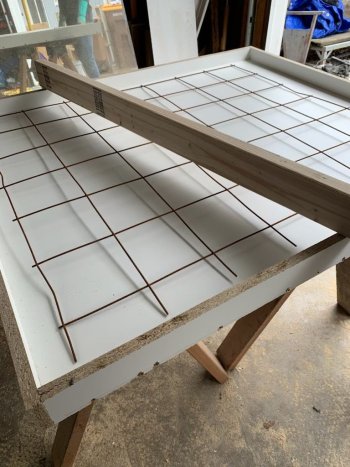
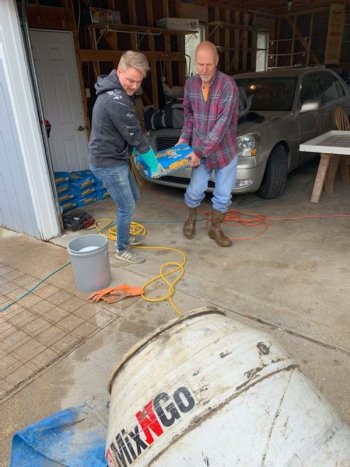
He started by assembling a team. My grandparents had managed to make concrete countertops for their beach house a few years ago, so Nils enlisted their help, along with a few others to help with more of the heavy lifting. From there, we got the supplies and started building the molds. The first weekend was spent building the molds one day, and then pouring the concrete the next day. The concrete then had to sit for 48 hours before we could take the molds off to see the top of the countertops, and decide whether or not we needed to patch anything.
The 48 hours of waiting to separate them from the molds went so slowly, but at last it was time. With the help of Pete, and a family friend, they got the molds off and revealed impressive concrete countertops. We were so pleased with how they turned out, as we had seen many DIY concrete countertops come out not so great. But between all the pounding out of air pockets, and my grandparents previous experience, they turned out beautiful! We then let them cure a few days, as we waited for the weekend to come for installation.
Friday night we started demoing a few of the blue countertops. But the real work started bright and early Saturday morning. The team emptied the cabinets and tore out the remaining countertops. Then the chaos began. The first task was cutting down the back of the bartop. With a skillsaw in hand, and two shop vacs following closely behind, Nils began to cut it down in order to create a level surface for our new countertops to go. We added a foot to the original countertop measurements when building the molds in order to create a bar top at the same level. Once he finished cutting, they went on to remove the old sink, and place the new one. After a few hours of slightly rearranging the cabinet layout, installing the new sink, and re-enforcing a few parts of the existing cabinets, we were ready to haul in the new countertops.
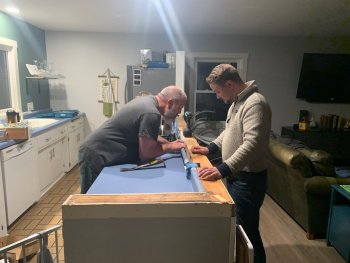
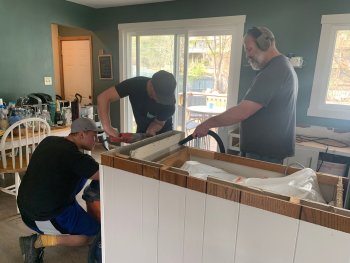
Hauling these large concrete slabs was no small feat. With a team of 3 very strong men, they managed to get the slabs into the house and in place. With some leveling, bracket installing, and more leveling, we had countertops once again! The end was in sight! They cut the hole for the new faucet, and replaced the plumbing just in time for the work week to begin again.
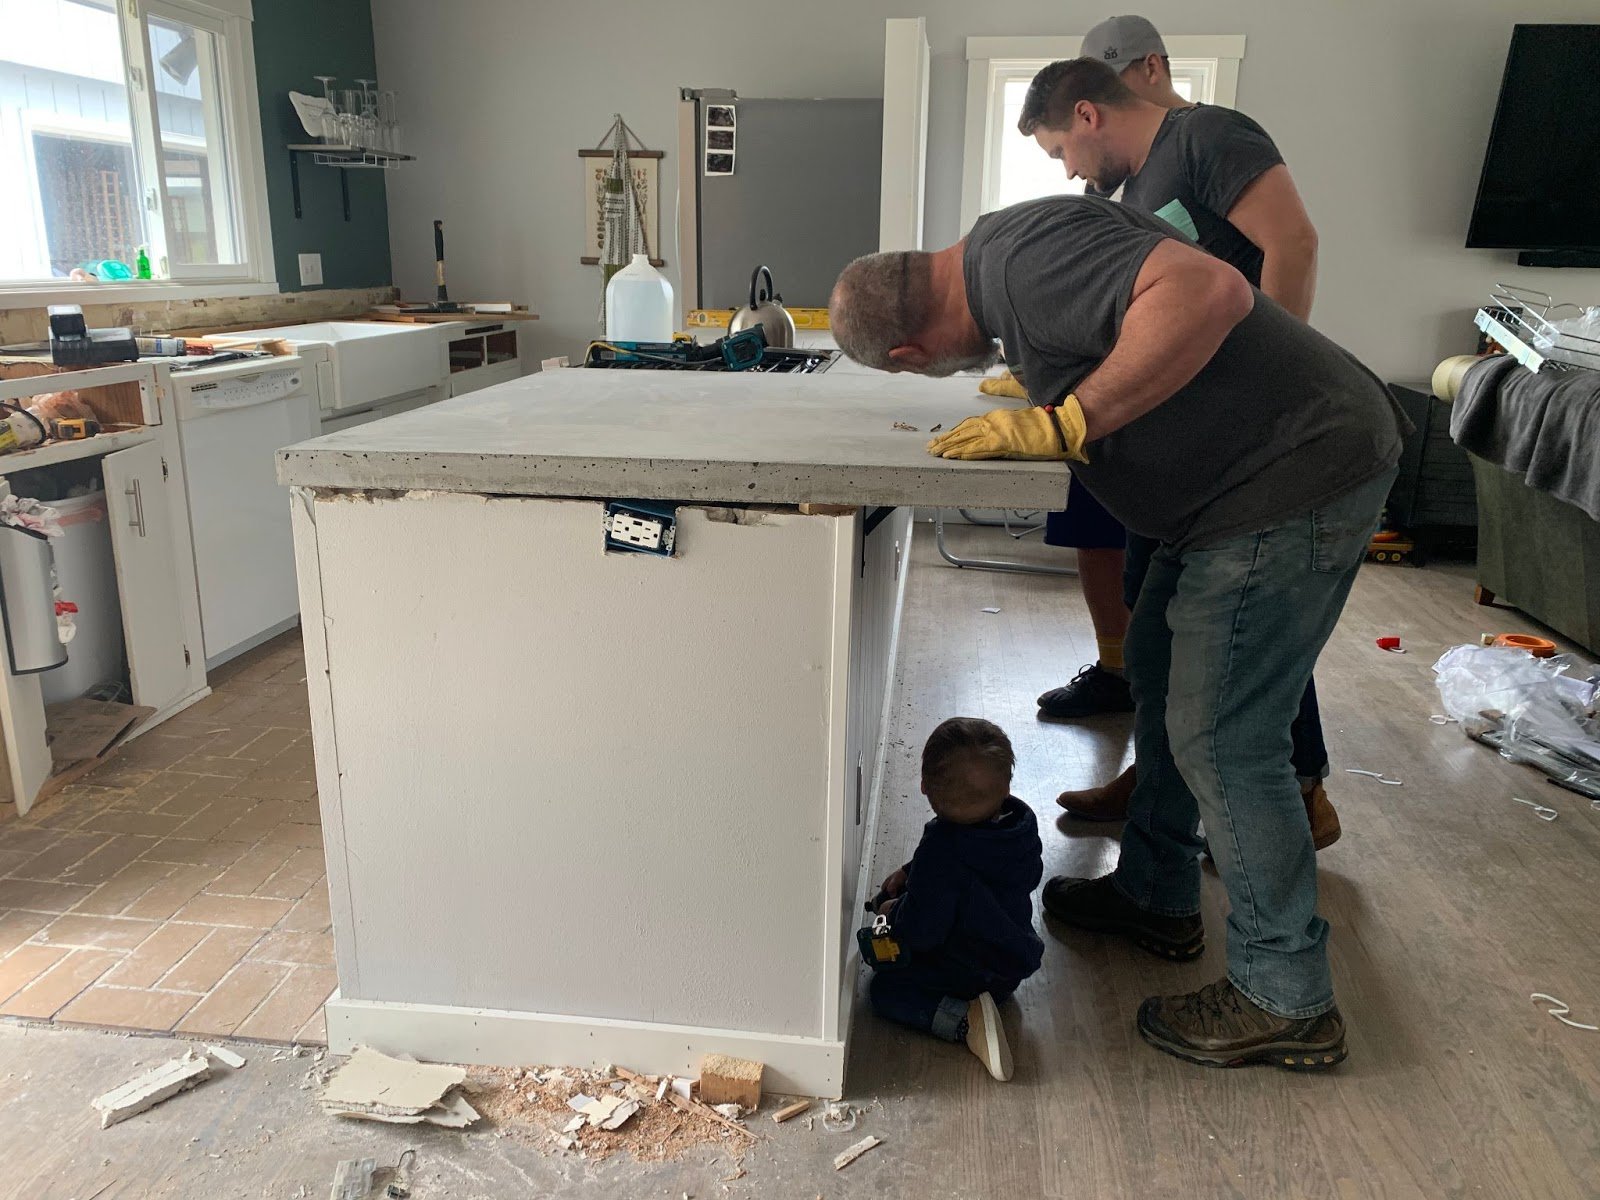
The next step was to seal the new countertops. This included sanding, cleaning, and then sealing with multiple coats. With that we were all set! Countertops at last!
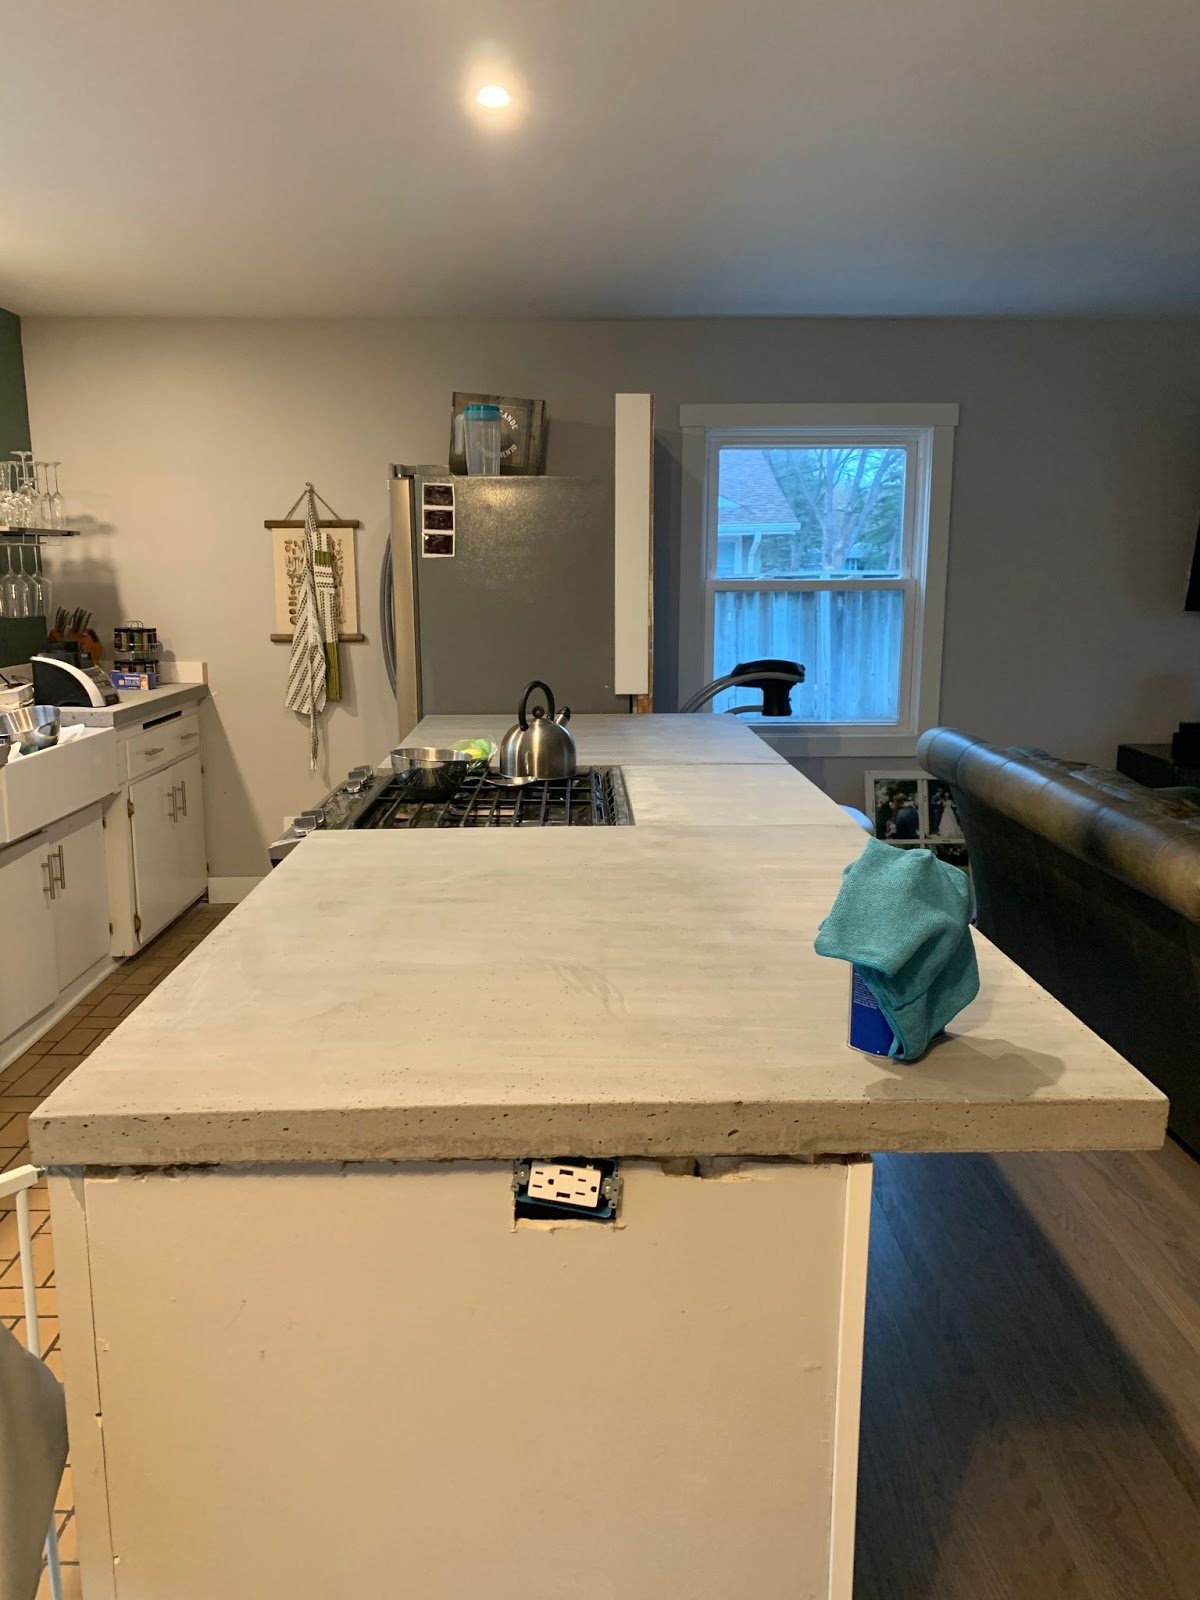
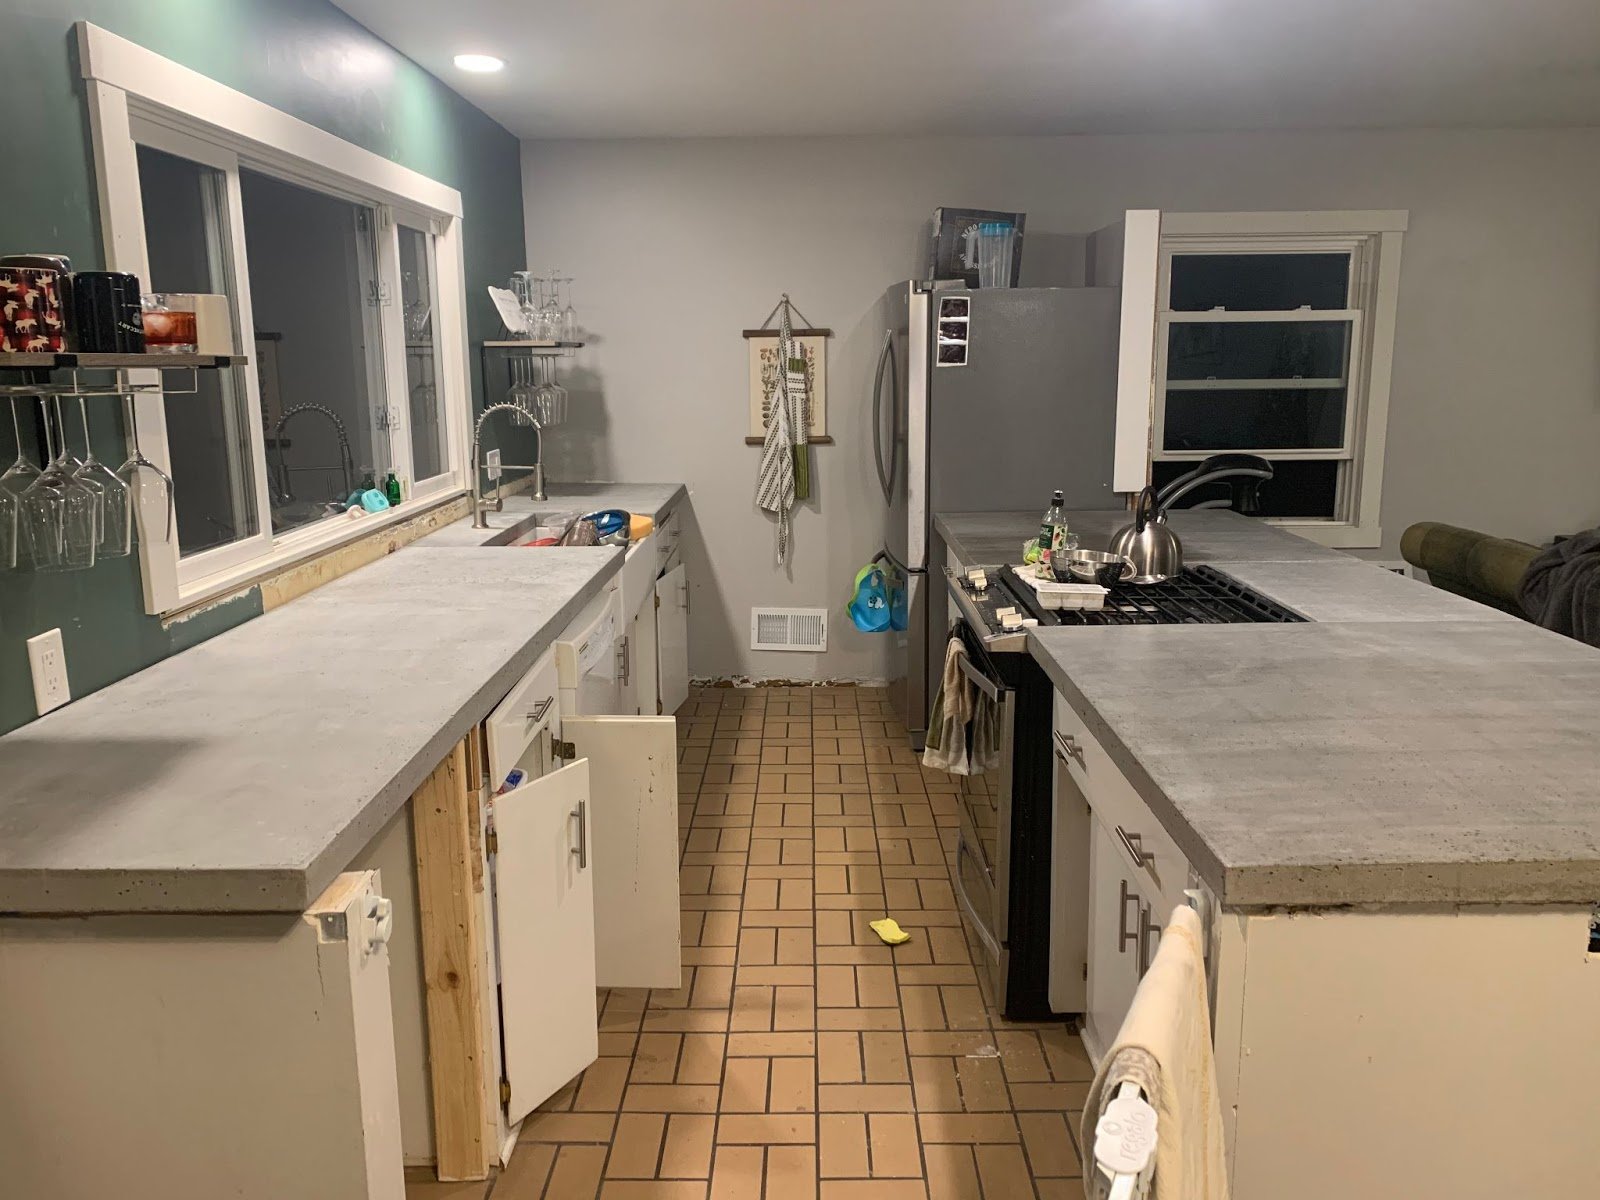
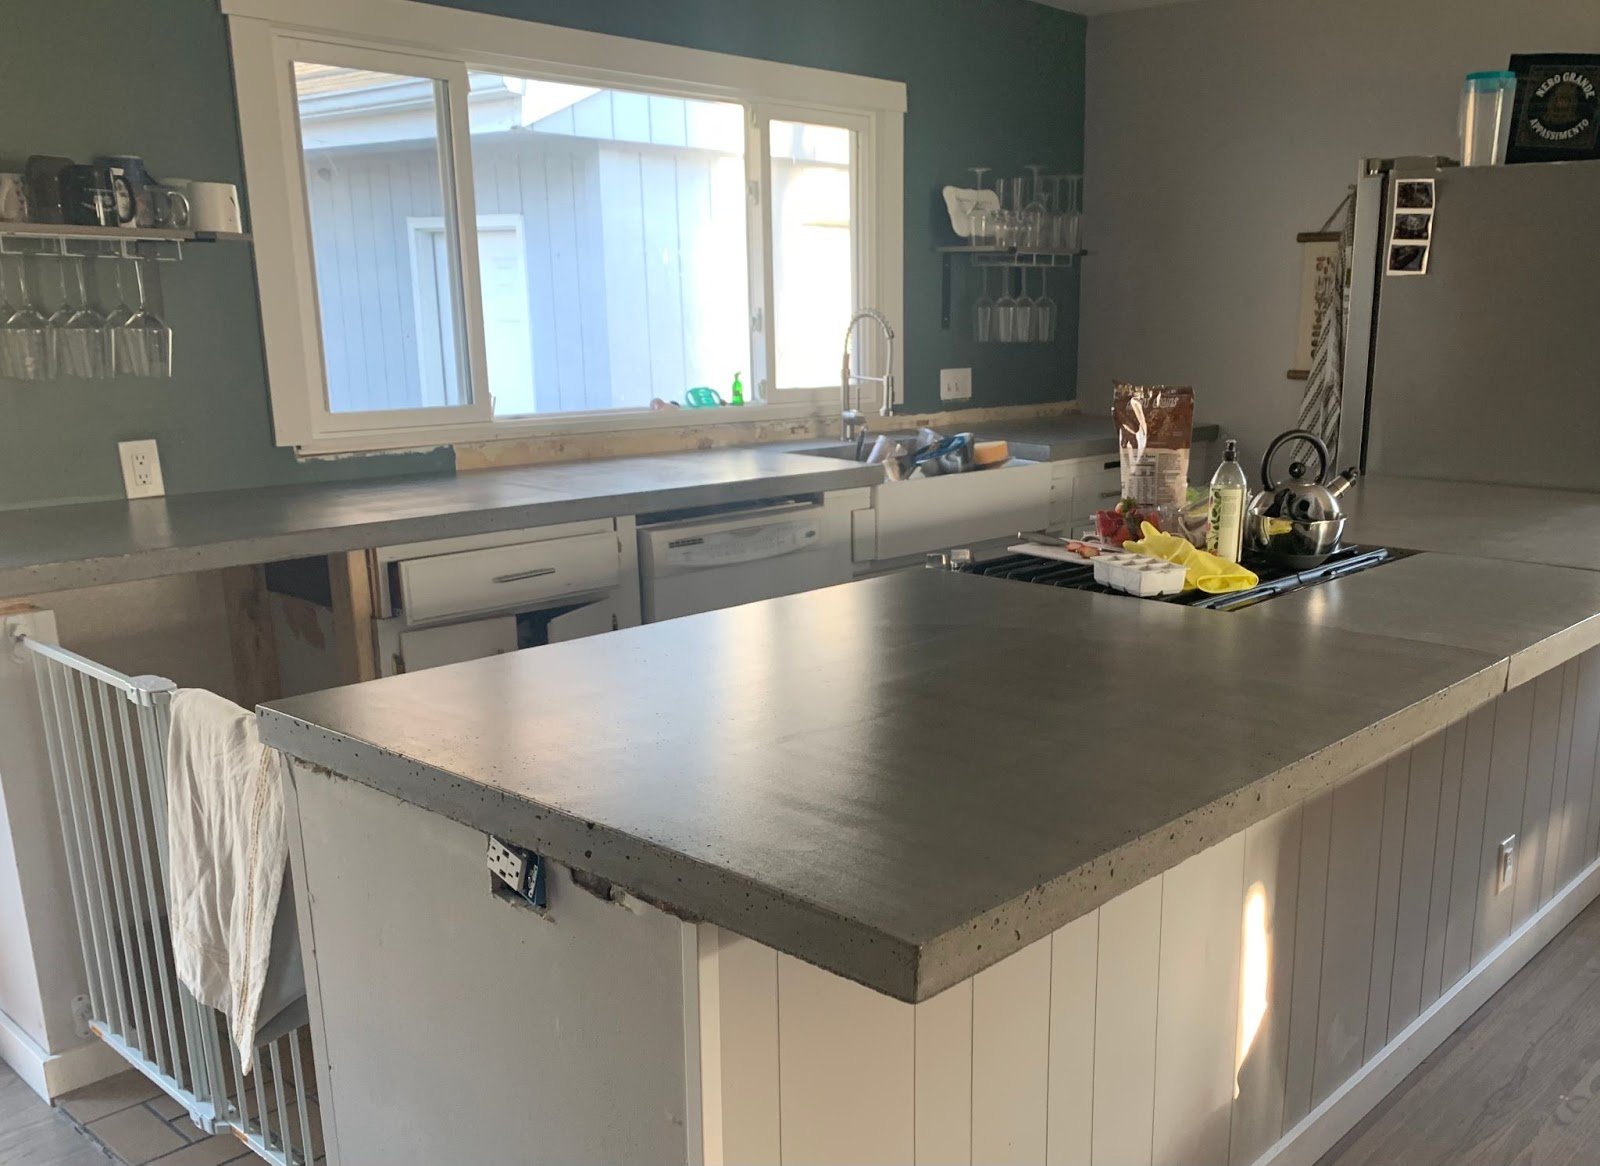
Replacing the countertops of course brought on new inspiration for how to continue to better our kitchen, so this is just the beginning. We plan to give a full update on what has become a full kitchen remodel once we wrap up this summer.
A year ago you could never have told me what a fun adventure flipping this White Bear Rambler would be. Now a year later, we checked another dream project off of Nils’ list, and officially replaced our kitchen blues.
